How can I setup Ads on Newsifier V2 (SPA)?
Due to the nature of headless webpages based on client-side rendering and Javascript, adding ads to the webpages is more complex than a server-side rendered webpage with, for example, PHP. In this manual, we’d like to explain to all parties involved how the integration works so it can easily be integrated and updated.
Good to know for publishers:
As we give the ads agency or publisher access to the site builder of the webpage, we advise the publisher, in case of 3rd party access, to create a user account (type -> advertiser) with only the rights to changes global, page, and body scripts, this account limits the access to only manage the ads script and ads position, but not the website design or content blocks on the webpage itself.
You can divide the integration of ads into four chapters:
- Global scripts and Page Scripts (commonly known as head)
- Body tags
- In-Article ads
- Additional
Head and global scripts
In many cases, ad agencies require one or more scripts at the head of the page and on all pages. To integrate this into the webpage, you need to navigate to:
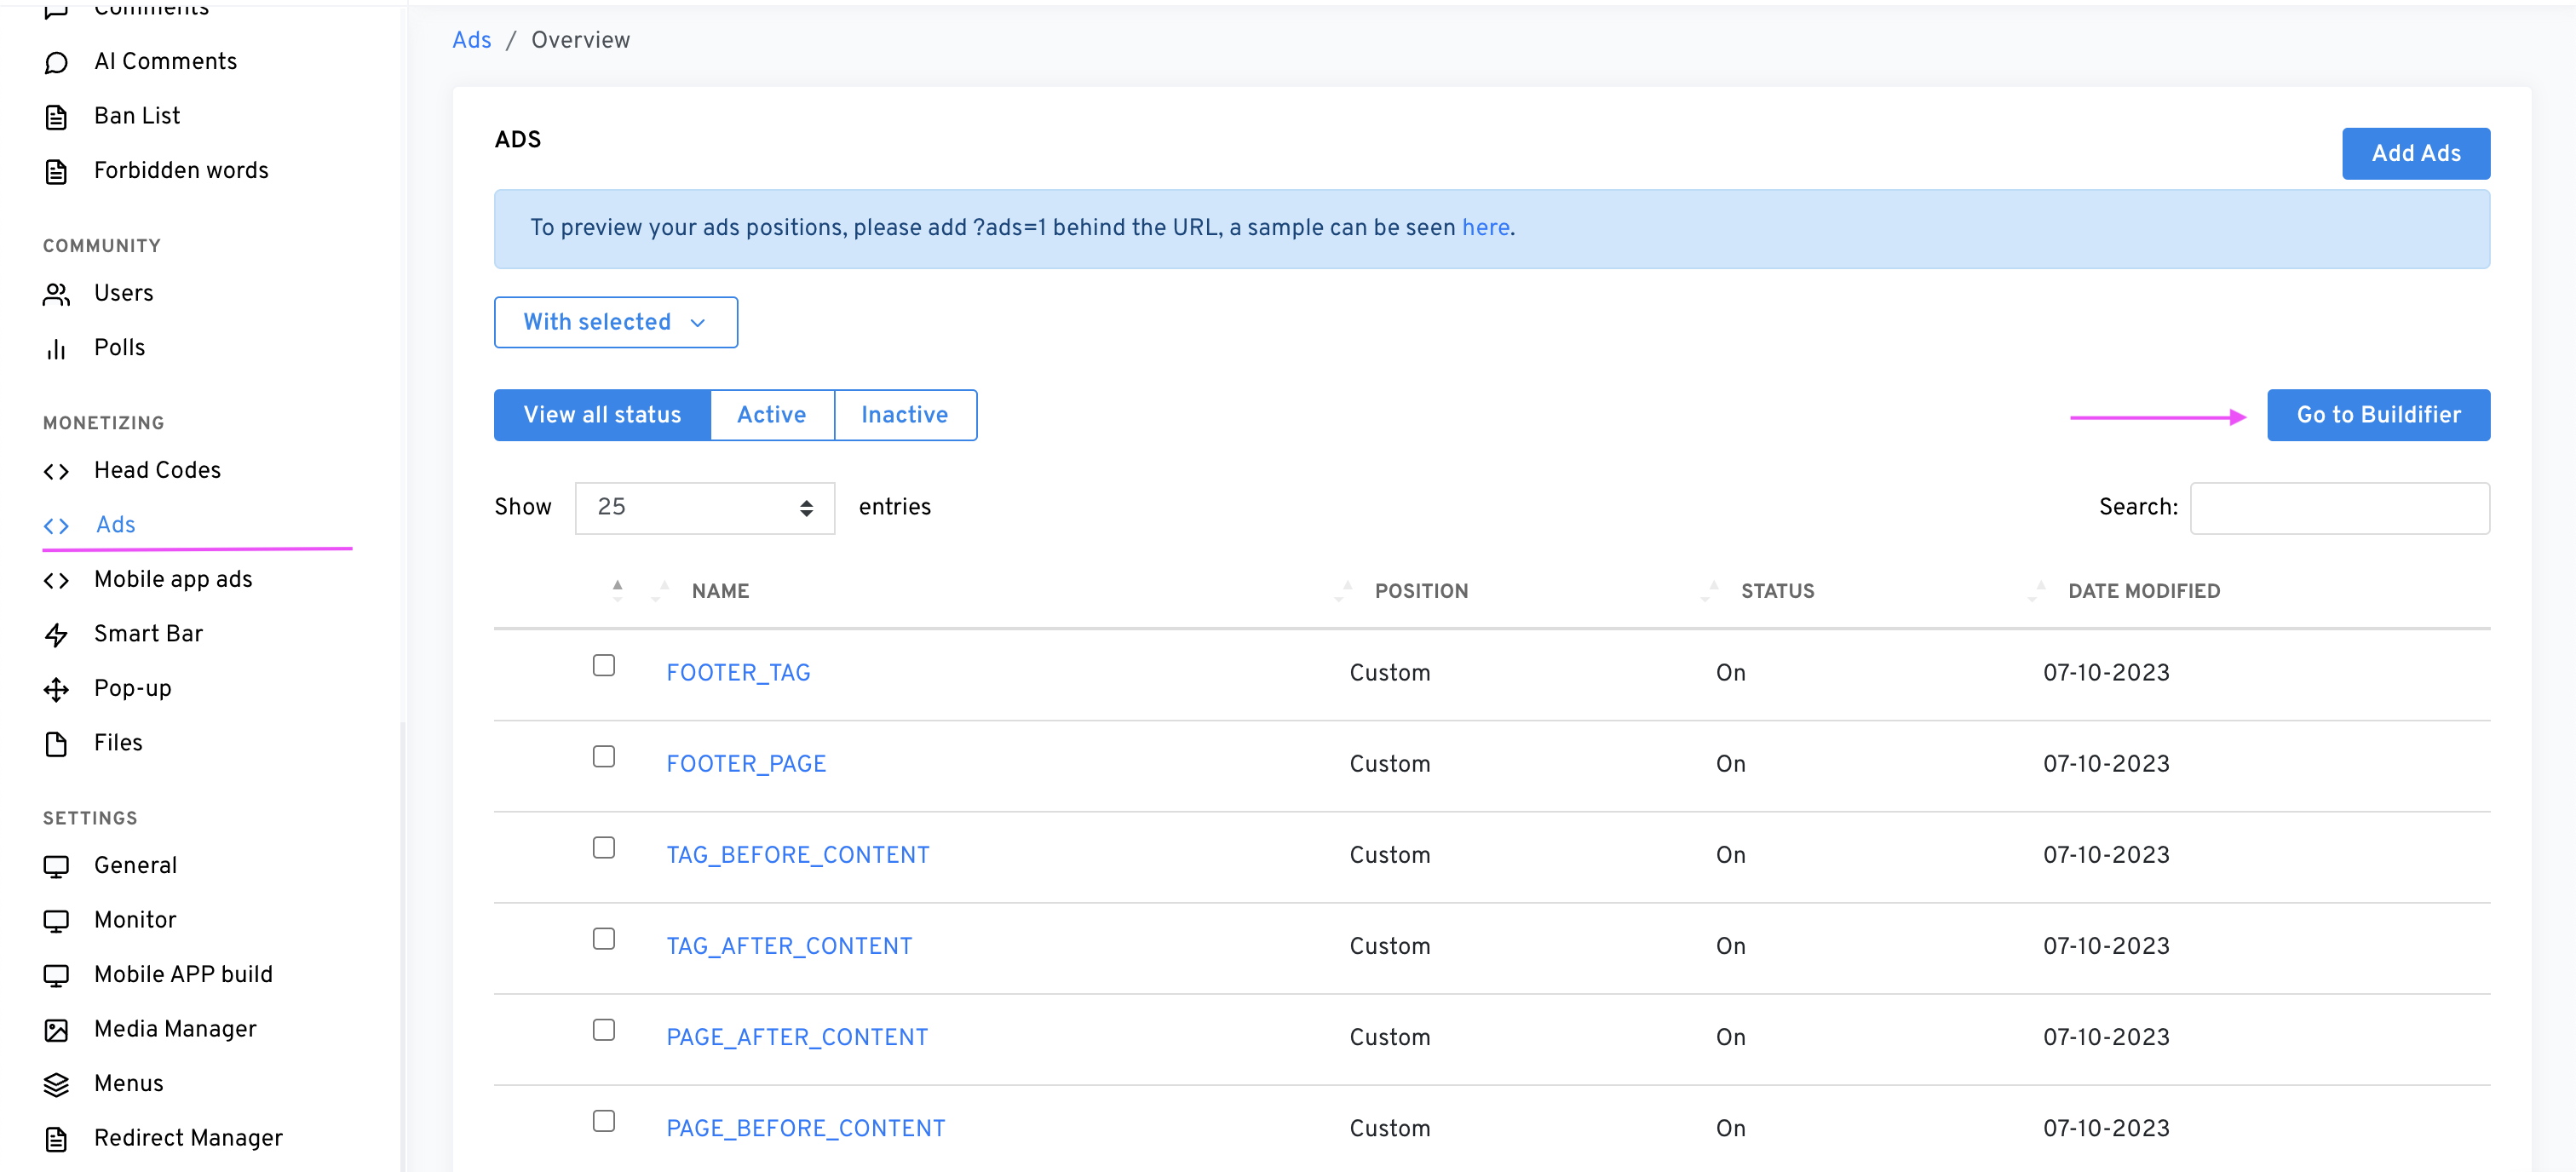
- In the admin panel, navigate to the page Ads, and then click on Go to Buildifier (Our Site Builder)
Once there, you have two options: you can integrate scripts that are being loaded on every page on the webpage by adding your script to Global Scripts; the other option is to open a page from the left sidebar and choose the menu item Current Page Scripts in the case you only want the script to be loaded on that particular page. The process of adding a script works in the same way for both cases.
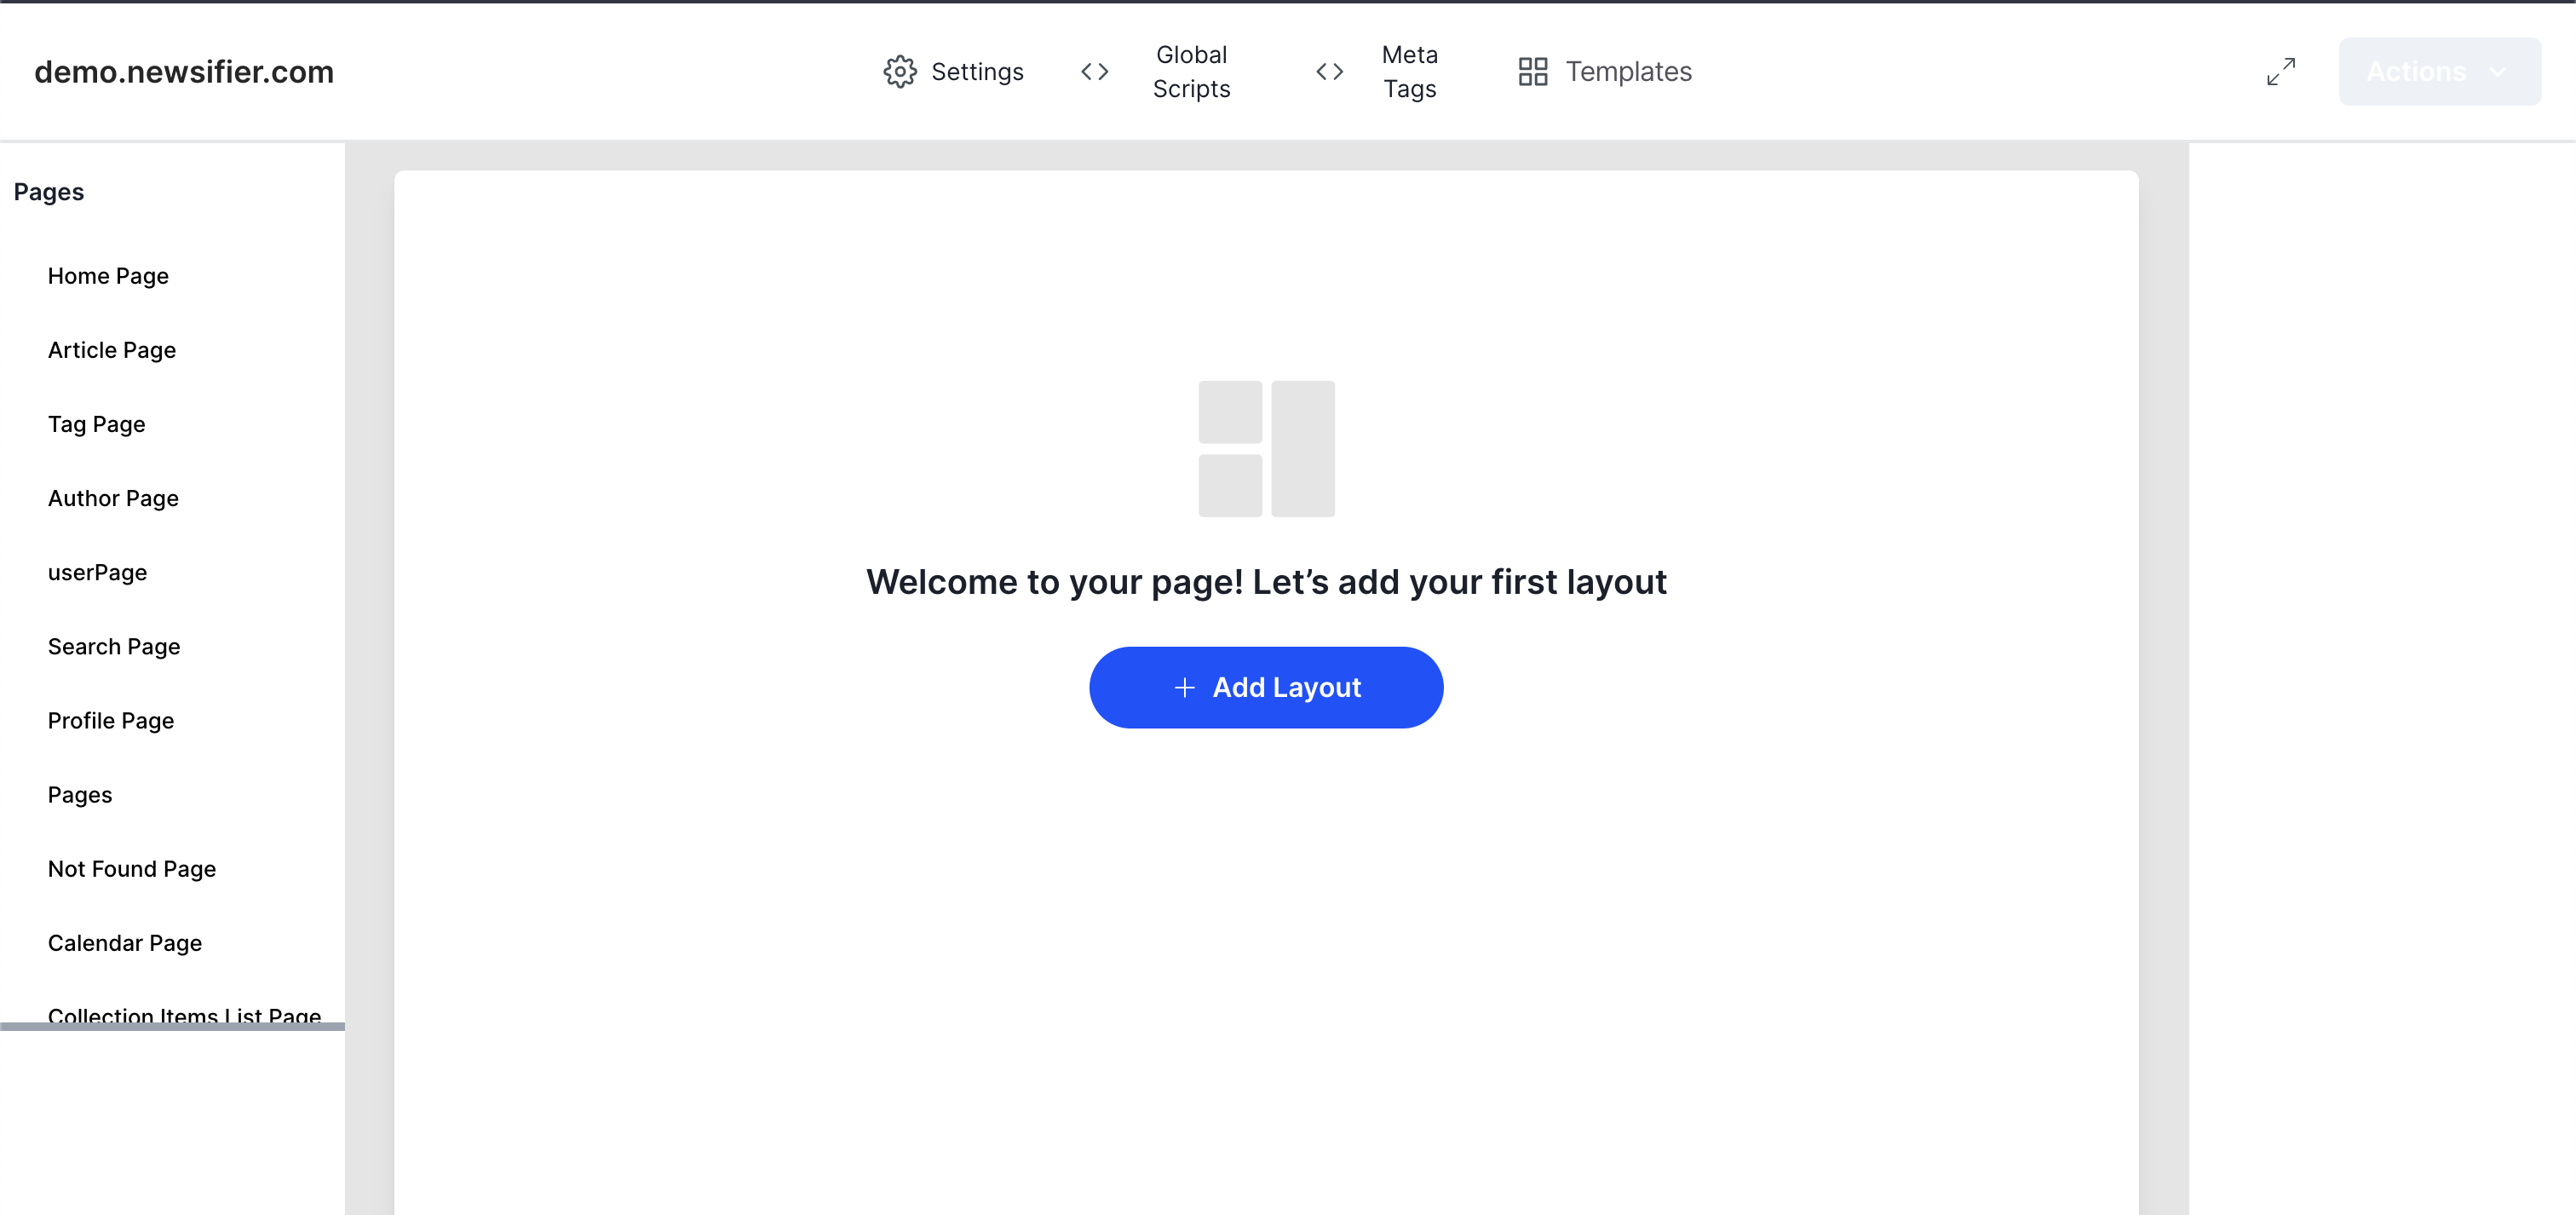
To add your first script, click on Global Scripts or Current Page Scripts; depending on your need, a popup opens, and click the Add Script button.
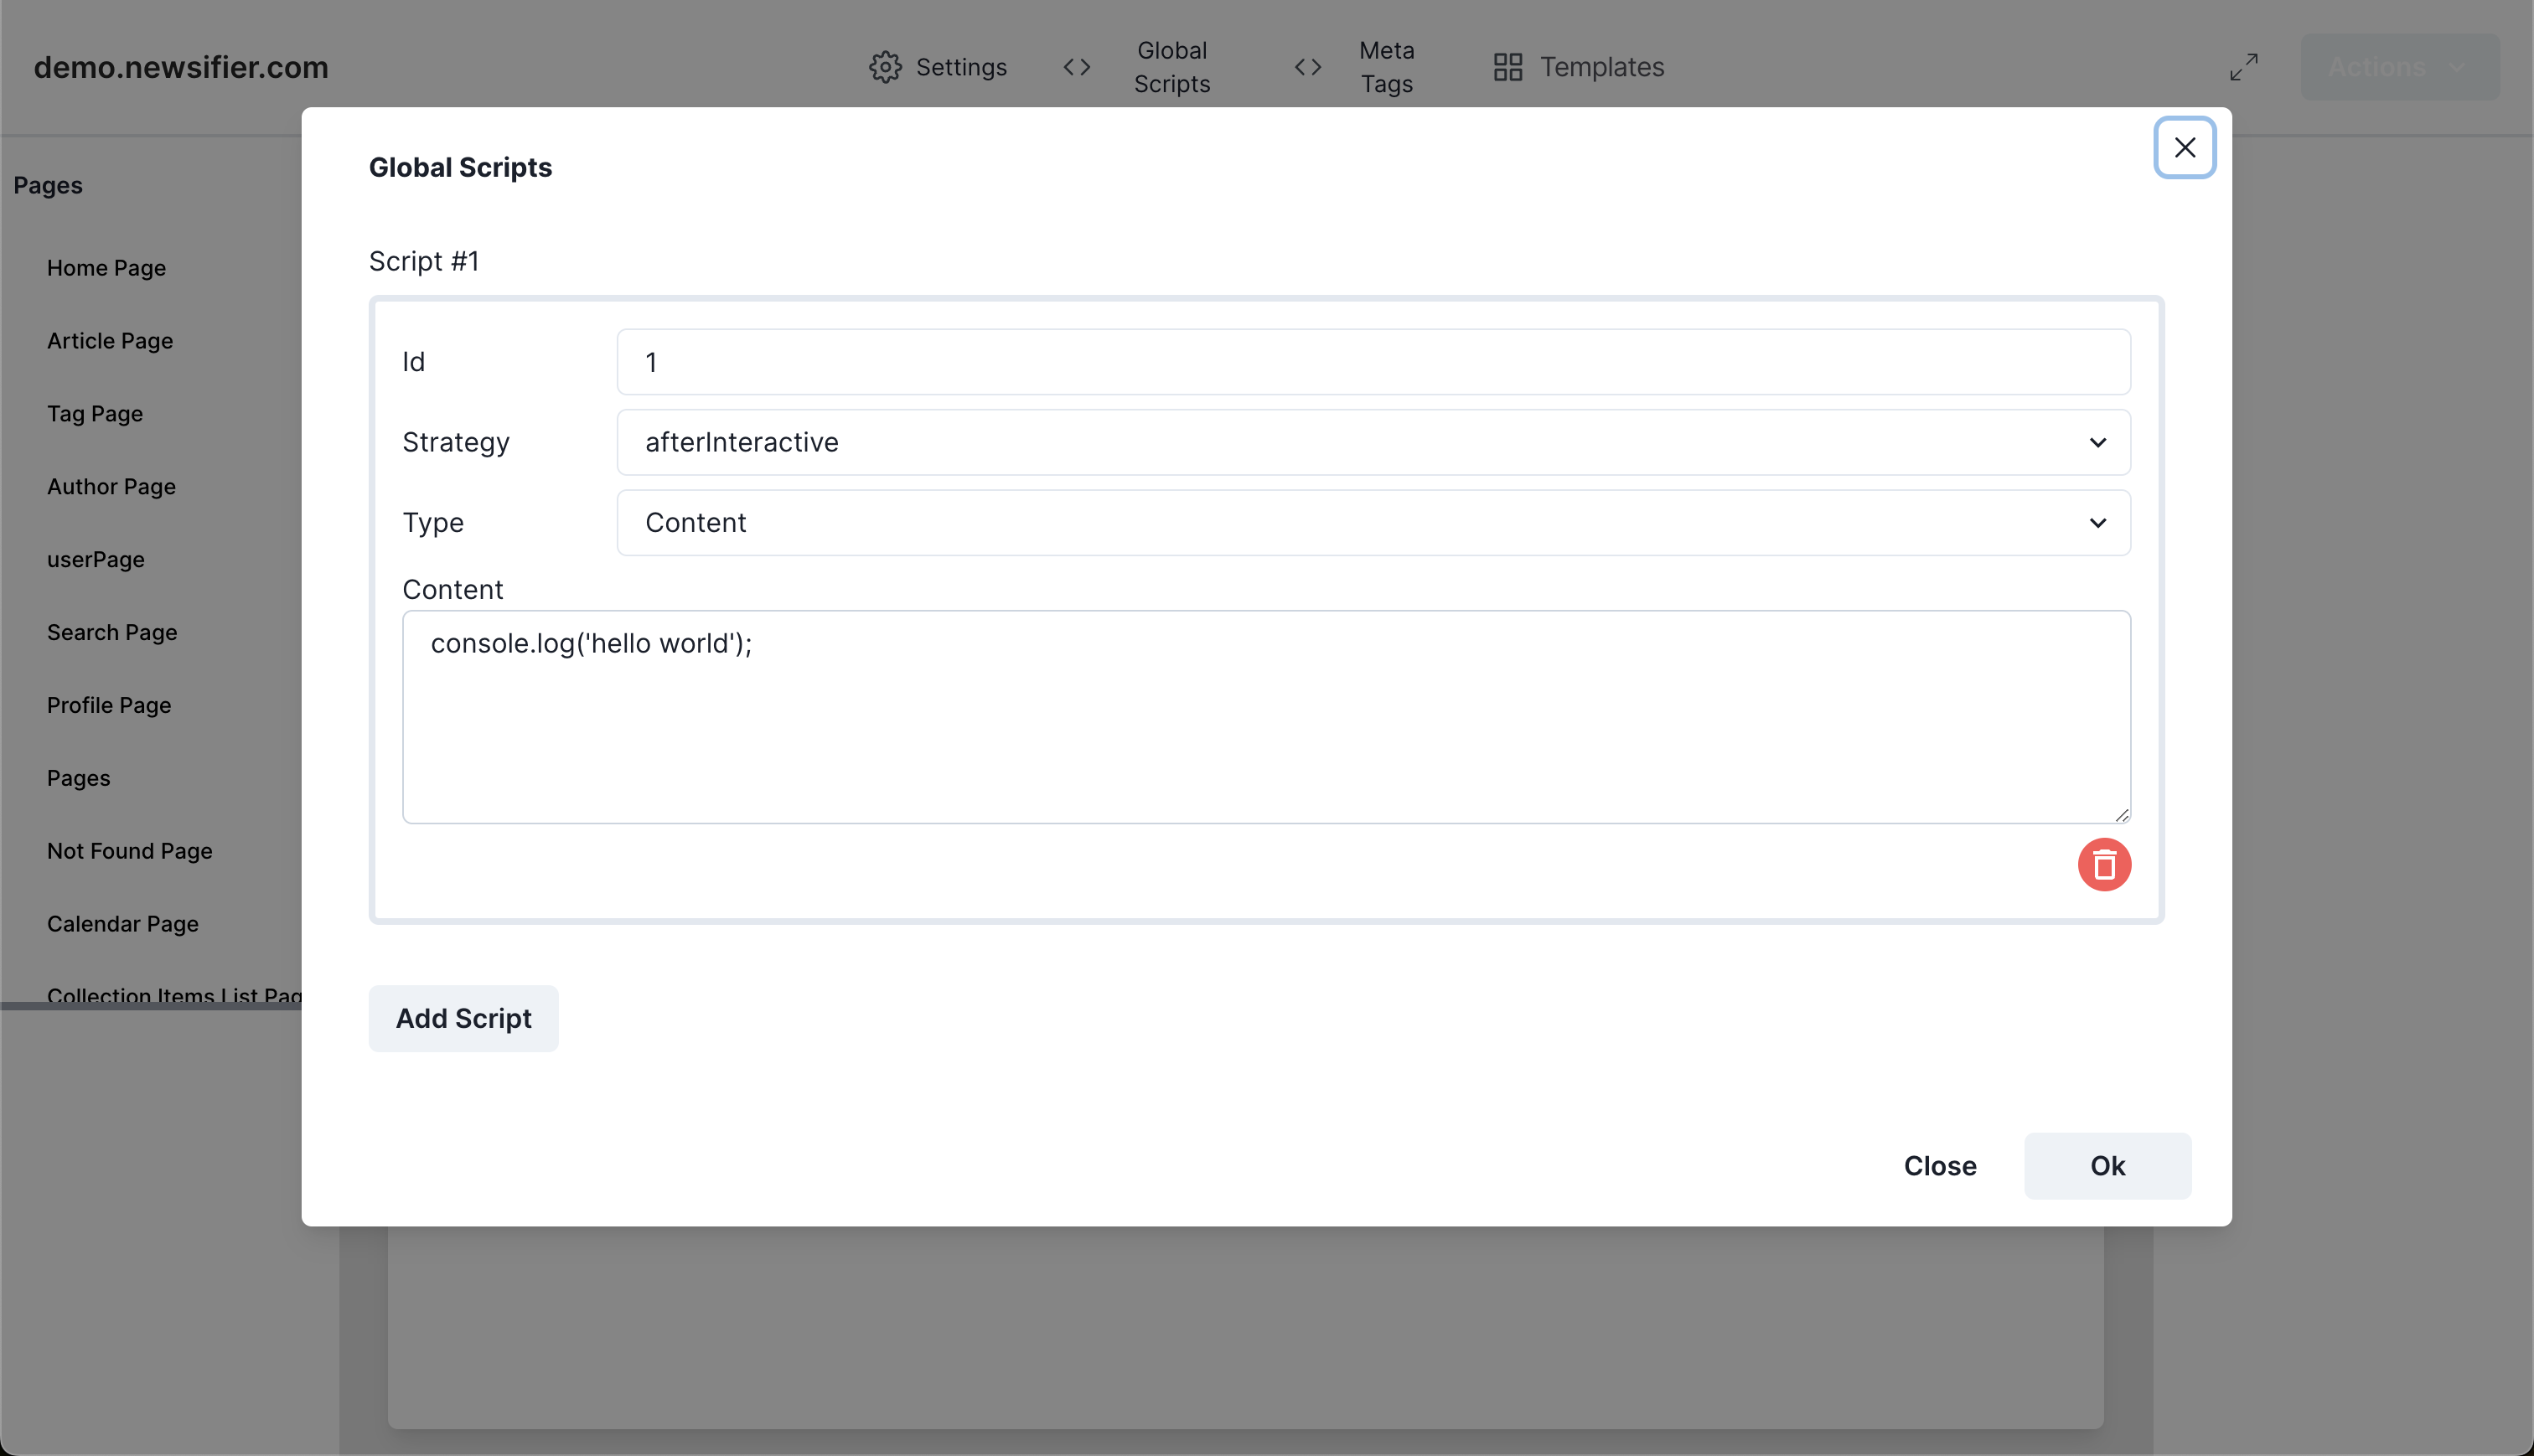
You will find a form that shows the following input fields: ID, Strategy, Type, and Content. We will now explain every field.
ID
This unique (technical) identifier is only used for the technical system. Every script has to have it’s own unique identifier, do not leave this empty.
Strategy
Here, you have three options to define when the script is being loaded:
- beforeInteractive
This means that the script is being executed before the body of the page is loaded; the advantage of this option is that you are sure that the script is loaded before the page builds up the visual part of the webpage. The disadvantage is that it delays loading the webpage, which influences things like Google’s LCP. We strongly advise not using this option unless it’s really needed. - afterInteractive
This means that the script is being loaded after the page is being processed, and it would be our advice to use this as the basis of every added script. - lazyOnload
When a script is loaded in this way, this script is only loaded after the page is ready with loading all its resources. We advise using this for scripts that can be heavy on loading and have less importance if you’re talking about the priority of loading fast.
Type
Here, you have two options to choose from:
- Content
This means that you can directly put JavaScript in the content field below. Be aware that no <script></script> are allowed, so only add the javascript code. It’s also forbidden to put in HTML or CSS through this part. Also, adding script tags with src=”” are not allowed with this type. - Link
If you use this type, you can load in external javascript through a URL and add the URL by filling in the field Source. You also have the option to select if you want to use the async function in the script tag.
Be aware that due to the nature of our site builder, in many cases, you need to slice up your ad codes into multiple blocks; this can mean you have one Link and one Content block to get your code up and running.
Body tags
Once all global and page scripts are set up, in many cases, it’s required to add body tags to the visual positions of where ads should show.
To start adding body tags, you must open up our Site Builder ‘Buildifier’; you can get access through the admin panel, clicking on the menu item Ads, and clicking on ‘Open Buildifier’. You will now get access to the site builder.
In the left sidebar, you will find all the pages within the webpage. Click on a specific page, for instance, “homepage”, and you will now see a preview of this page on the right side of your browser.
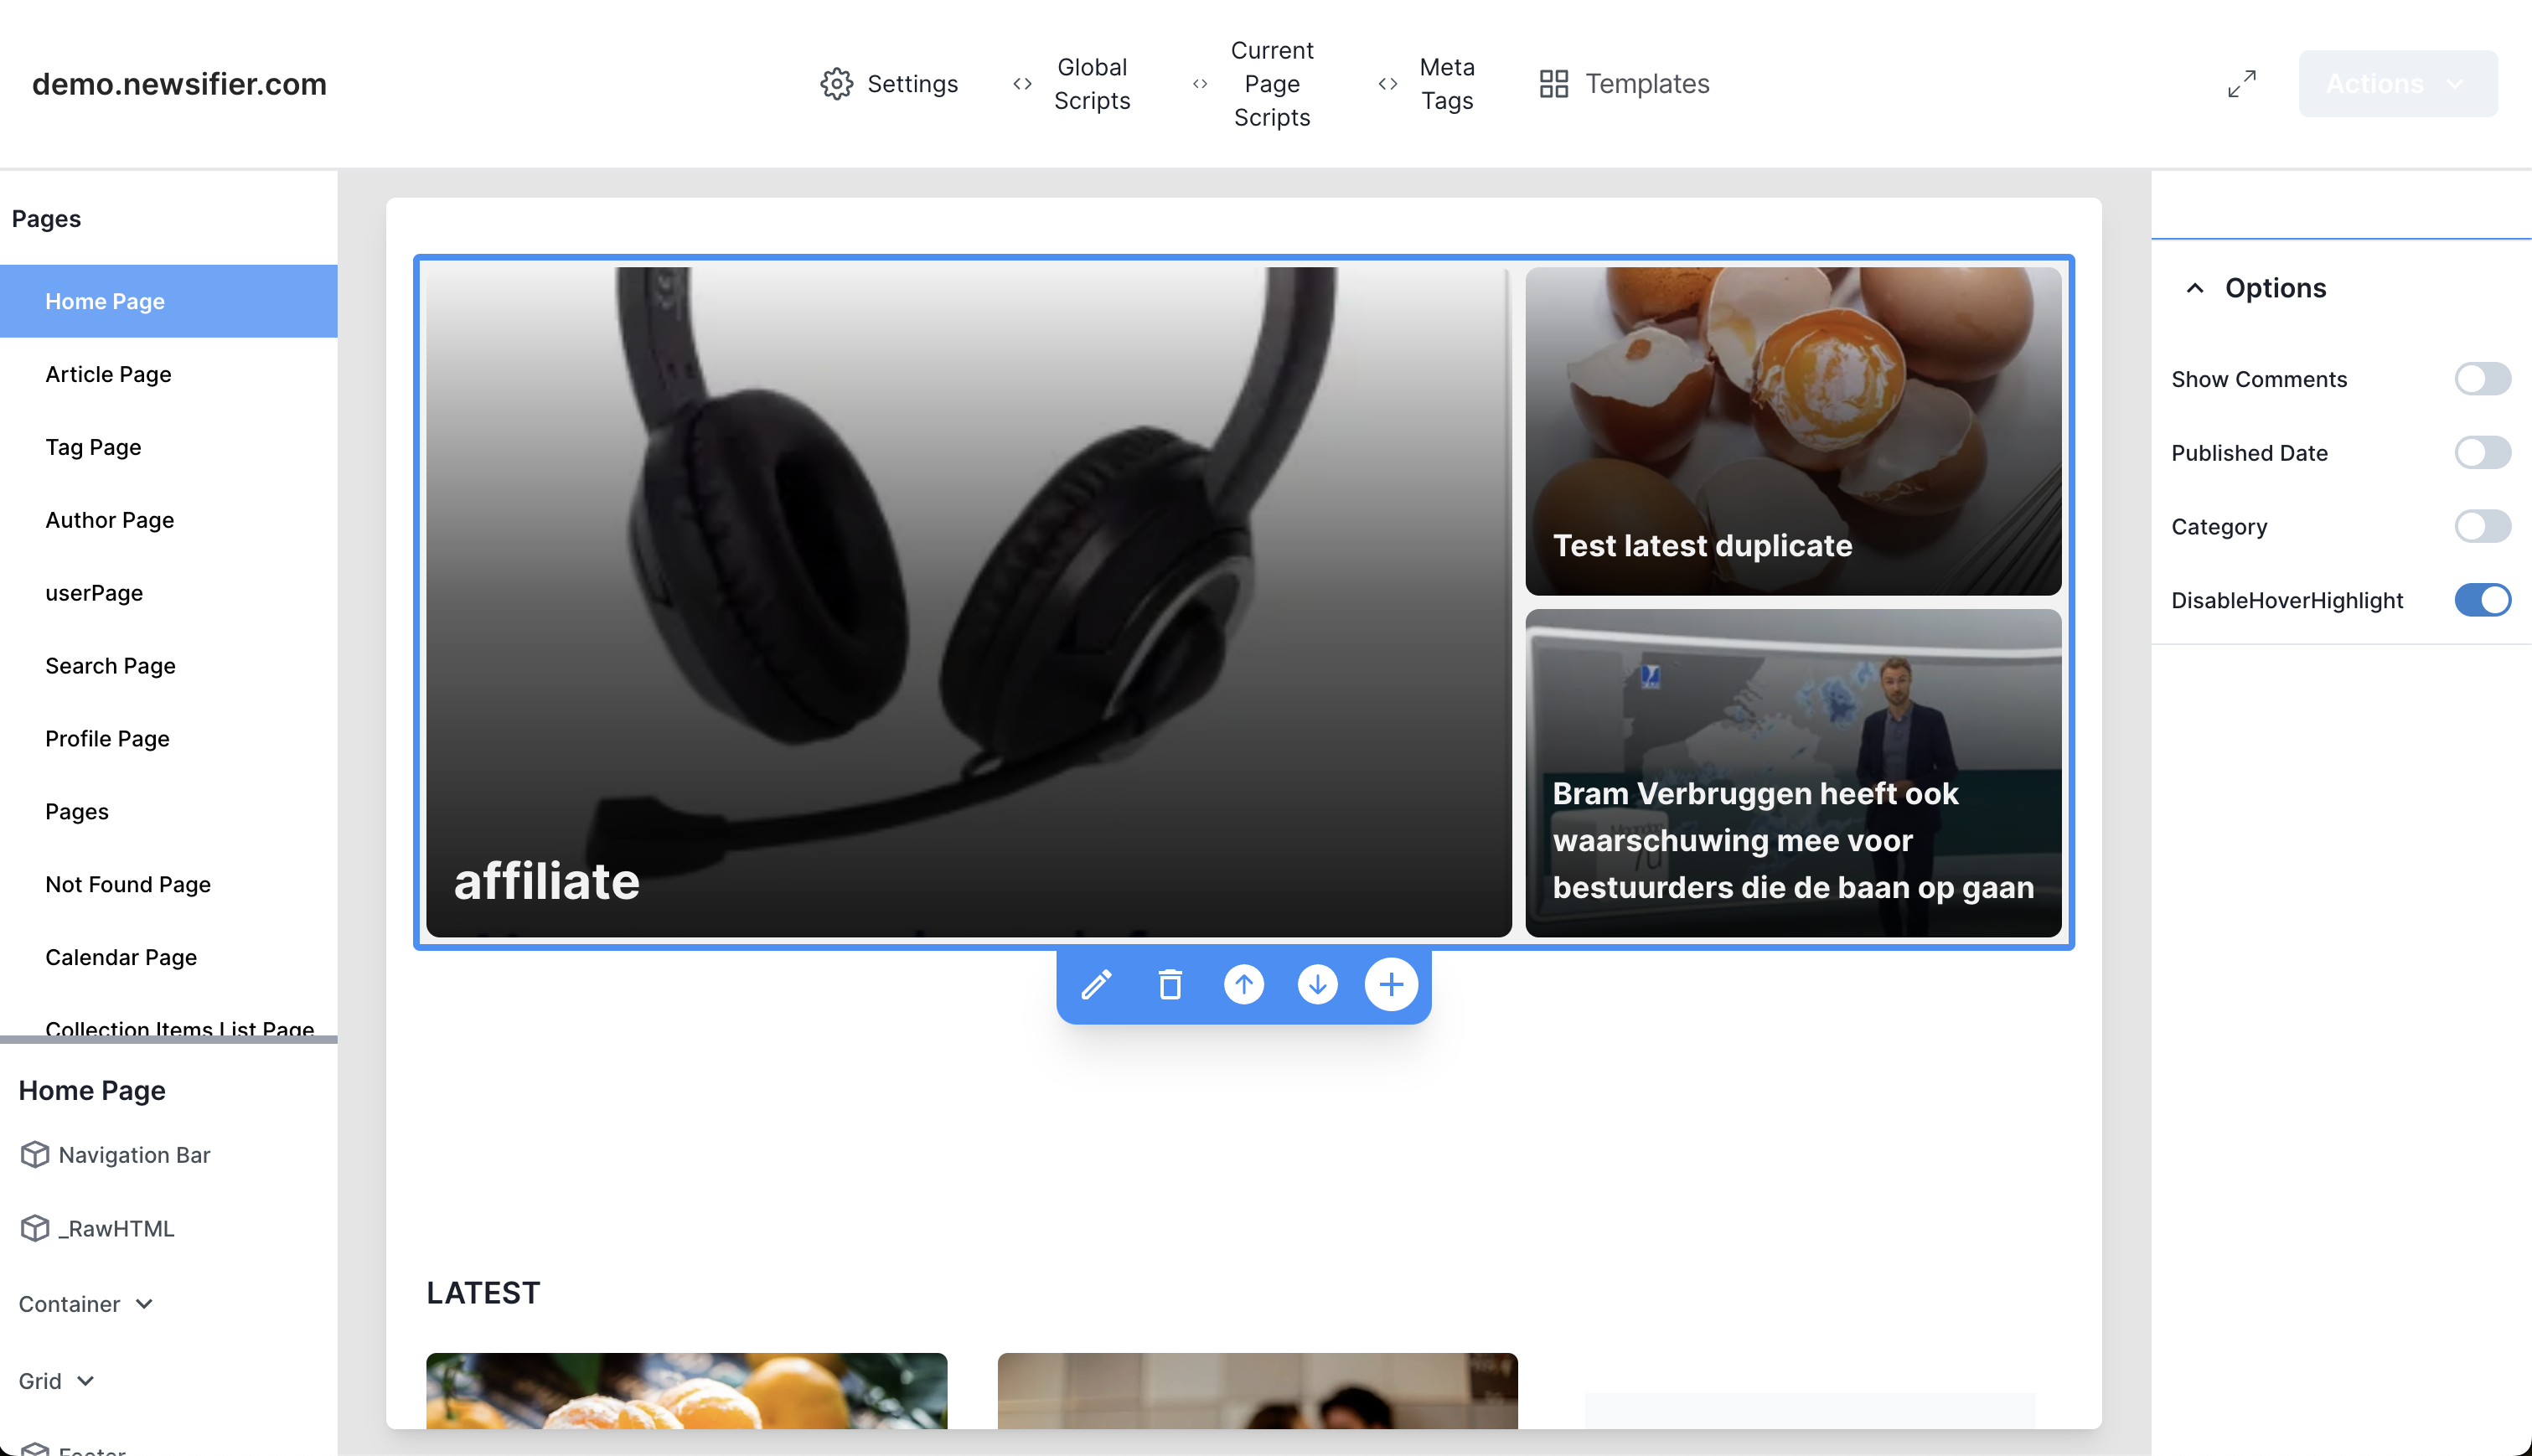
You have the possibility to click every item on the page and add a new block by using the + sign. Once you click on the + sign, a popup opens where we have two options for the ads account (with limited access).
Container
We have the option to add a container that will add the width of the webpage into multiple columns; this gives flexibility for the visibility of ads and content blocks.
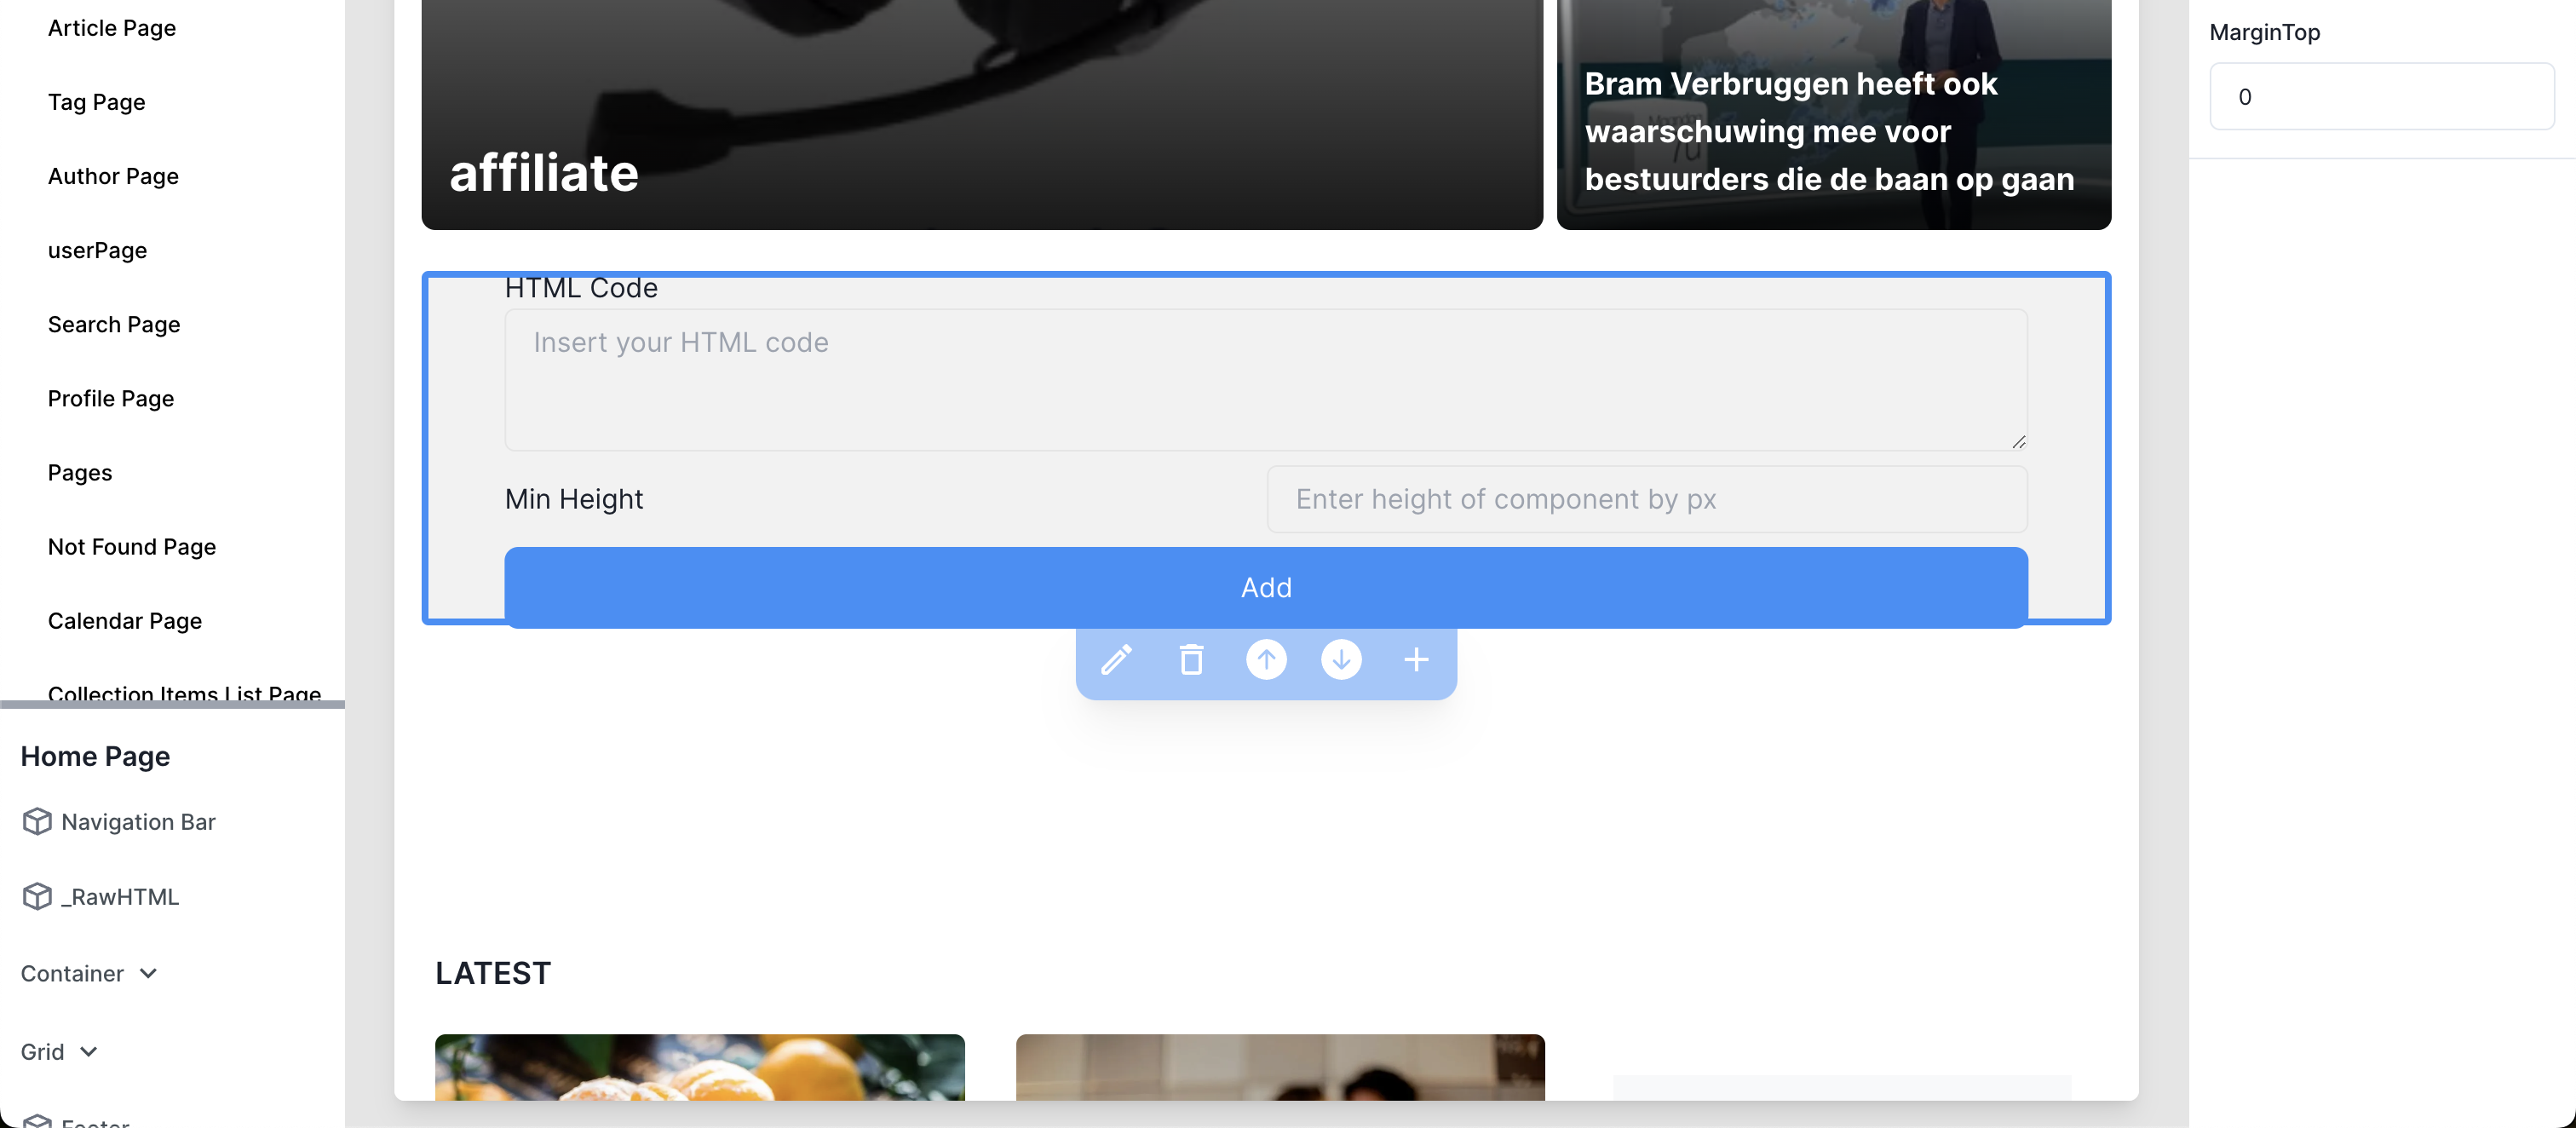
Misc > _RAWHtml
This option allows the publisher/ads agency to add a content block to the webpage where all types of content can be added: HTML, CSS, and Javascript.
Please be aware that once blocks have been changed or added, the page needs to be saved through the blue button ‘Actions’; once you save, it takes roughly 30 seconds before the changes appear on the frontend (due to the re-validation of cache).
Note: Adding broken or invalidated code (HTML) can break the website; always ensure the code you add is validated.
In-Article ads
Powerful and much-used options within the Newsifier Ads system are in-article ads, we give our publishers the possibility to dynamically add ads between paragraphs and other content blocks within the actual content of the article. To manage this, you need to go to:
Admin Panel > Menu Ads.
Click on the Ad Ads button.
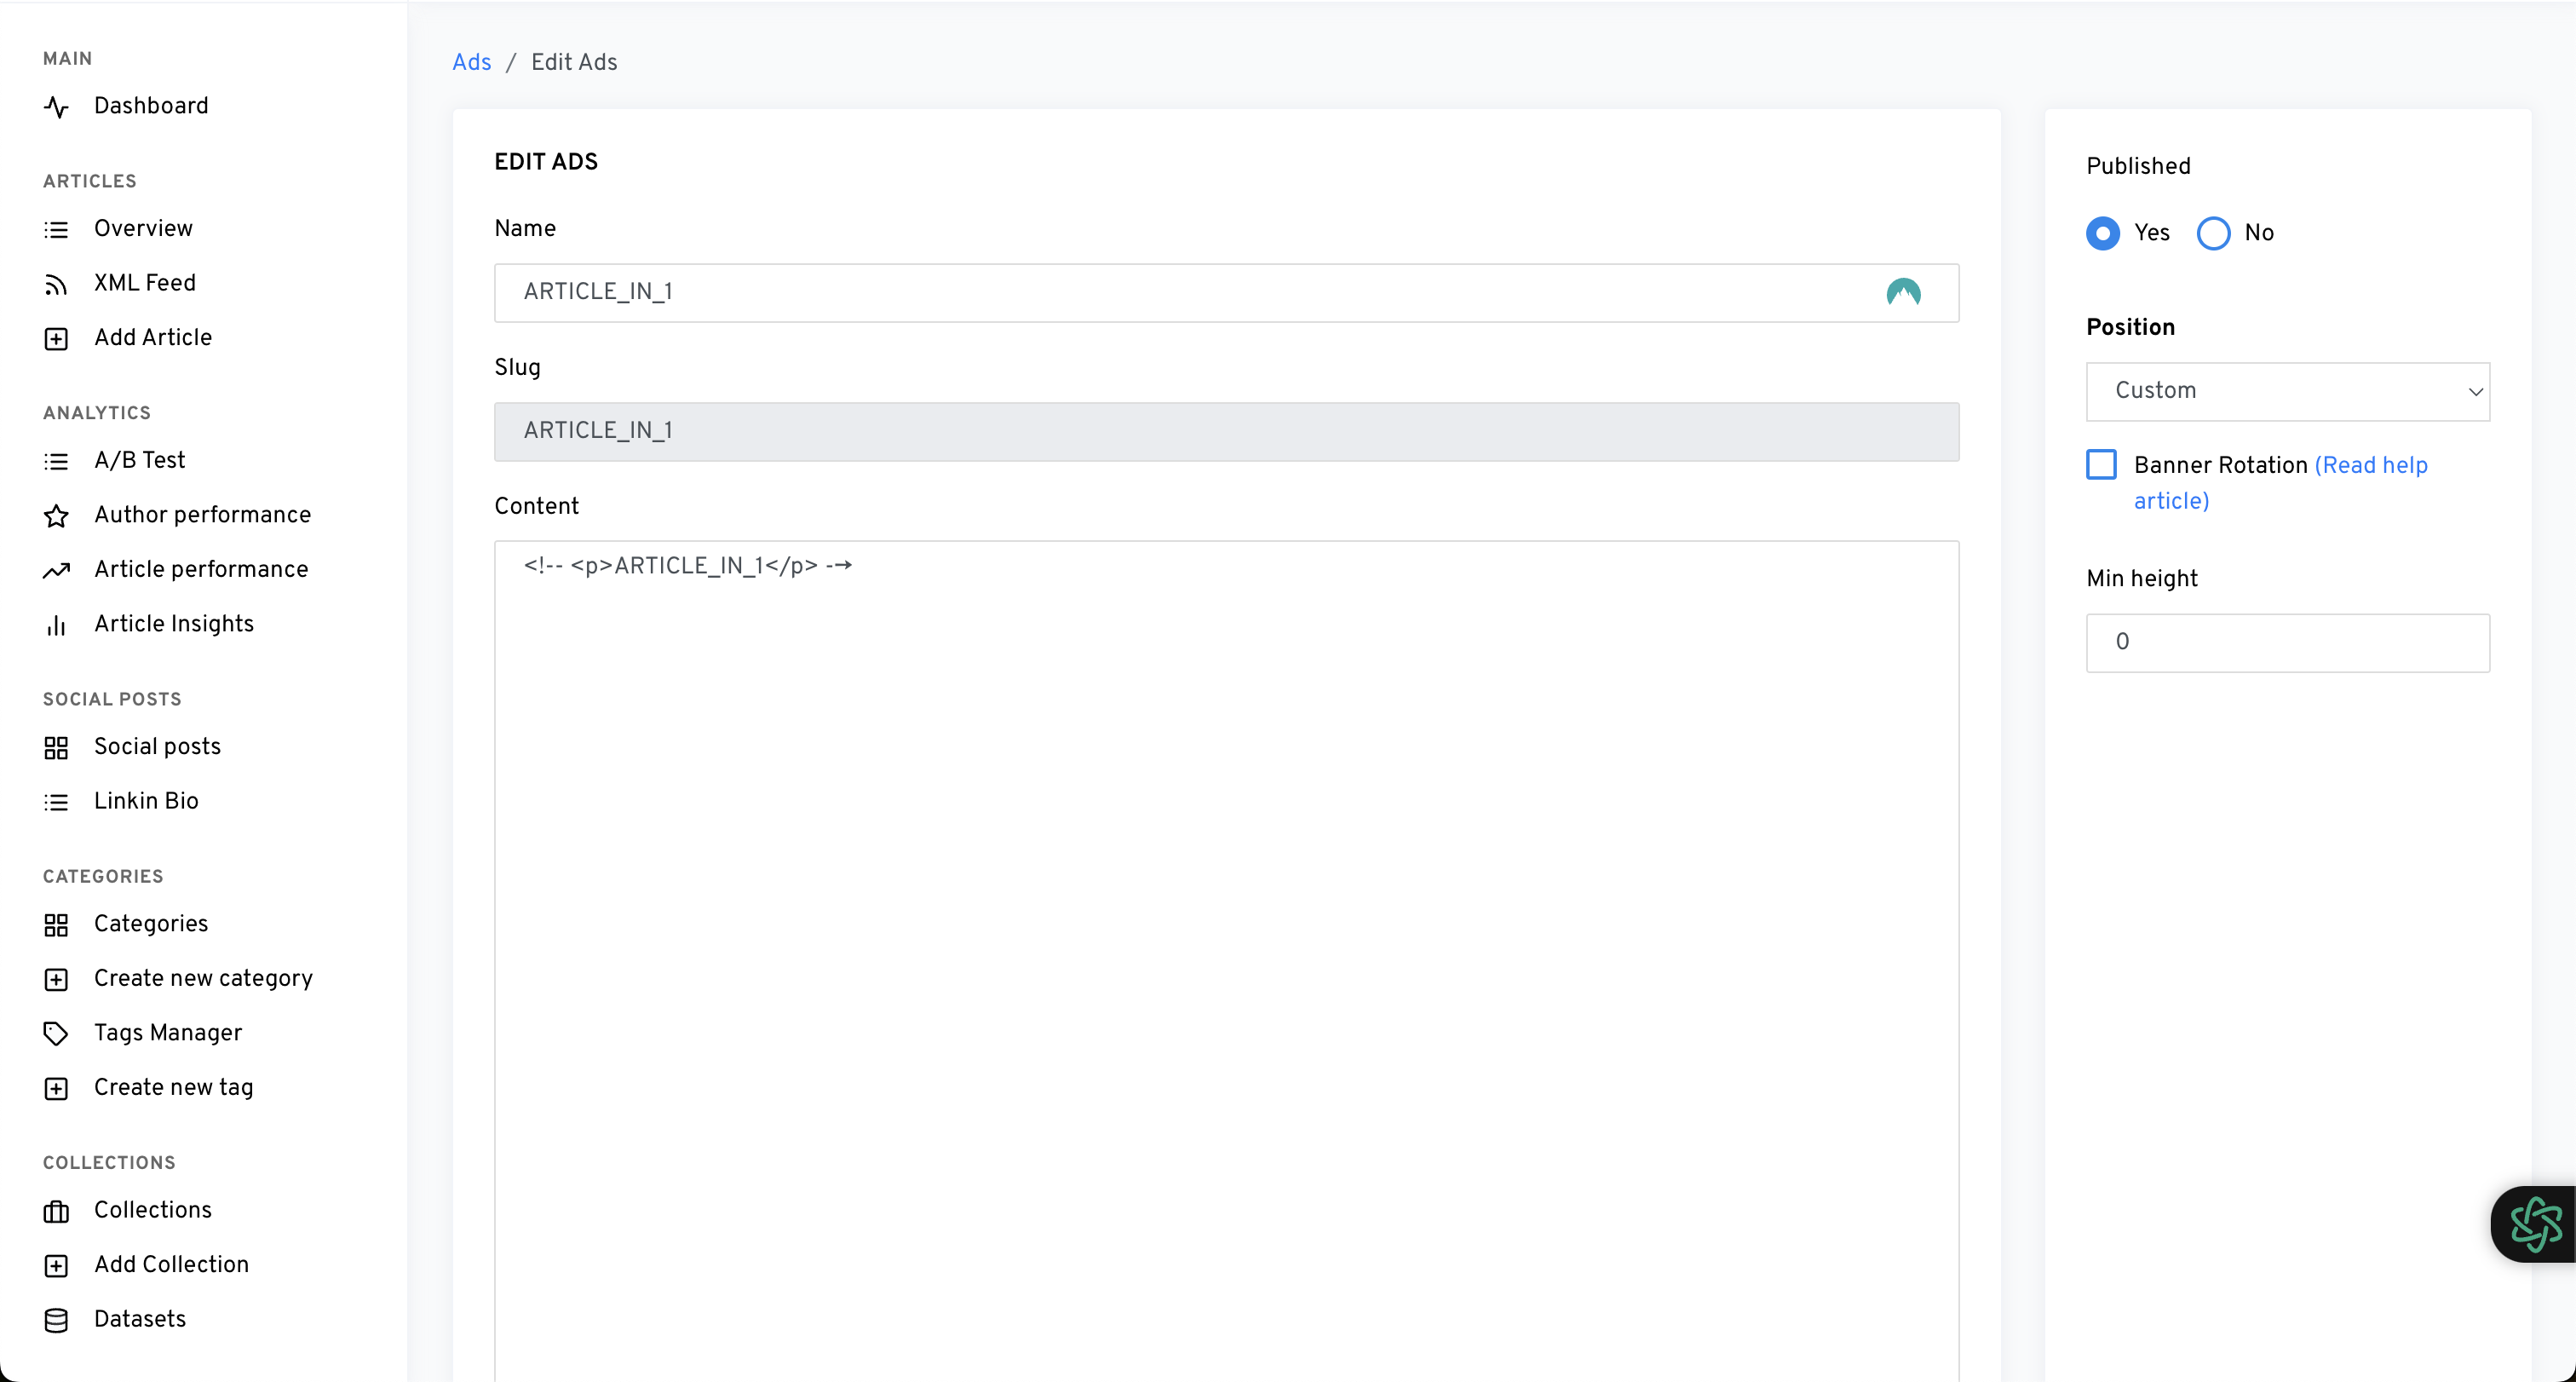
You will find yourself on the page with a form to add a new ad; the options are:
Name
Give your ads a name that is easily recognizable in the overview of ads (IN_ARTICLE_1, for example)
Content
The entire content of the ads is primarily javascript code,, but HTML and CSS are also allowed.
Published
Is this ad active? Then Published should be on Yes.
Position
Here, you will find all the options to place your ads; in most cases, you want to put it in ‘Article’ > ‘After block X’. We used the term Block as images, embeds, and more are also counted as blocks, so we define not only paragraphs/text as a block.
Min-Height
This is an important one, as Google punishes publishers who don’t define upfront the size of an ad position as it triggers a phenomenon called Cumulative Layout Shift (CLS); read more about it at https://web.dev/articles/cls. Please always define a size to have a good CLS score for optimal webpage performance.
Additional
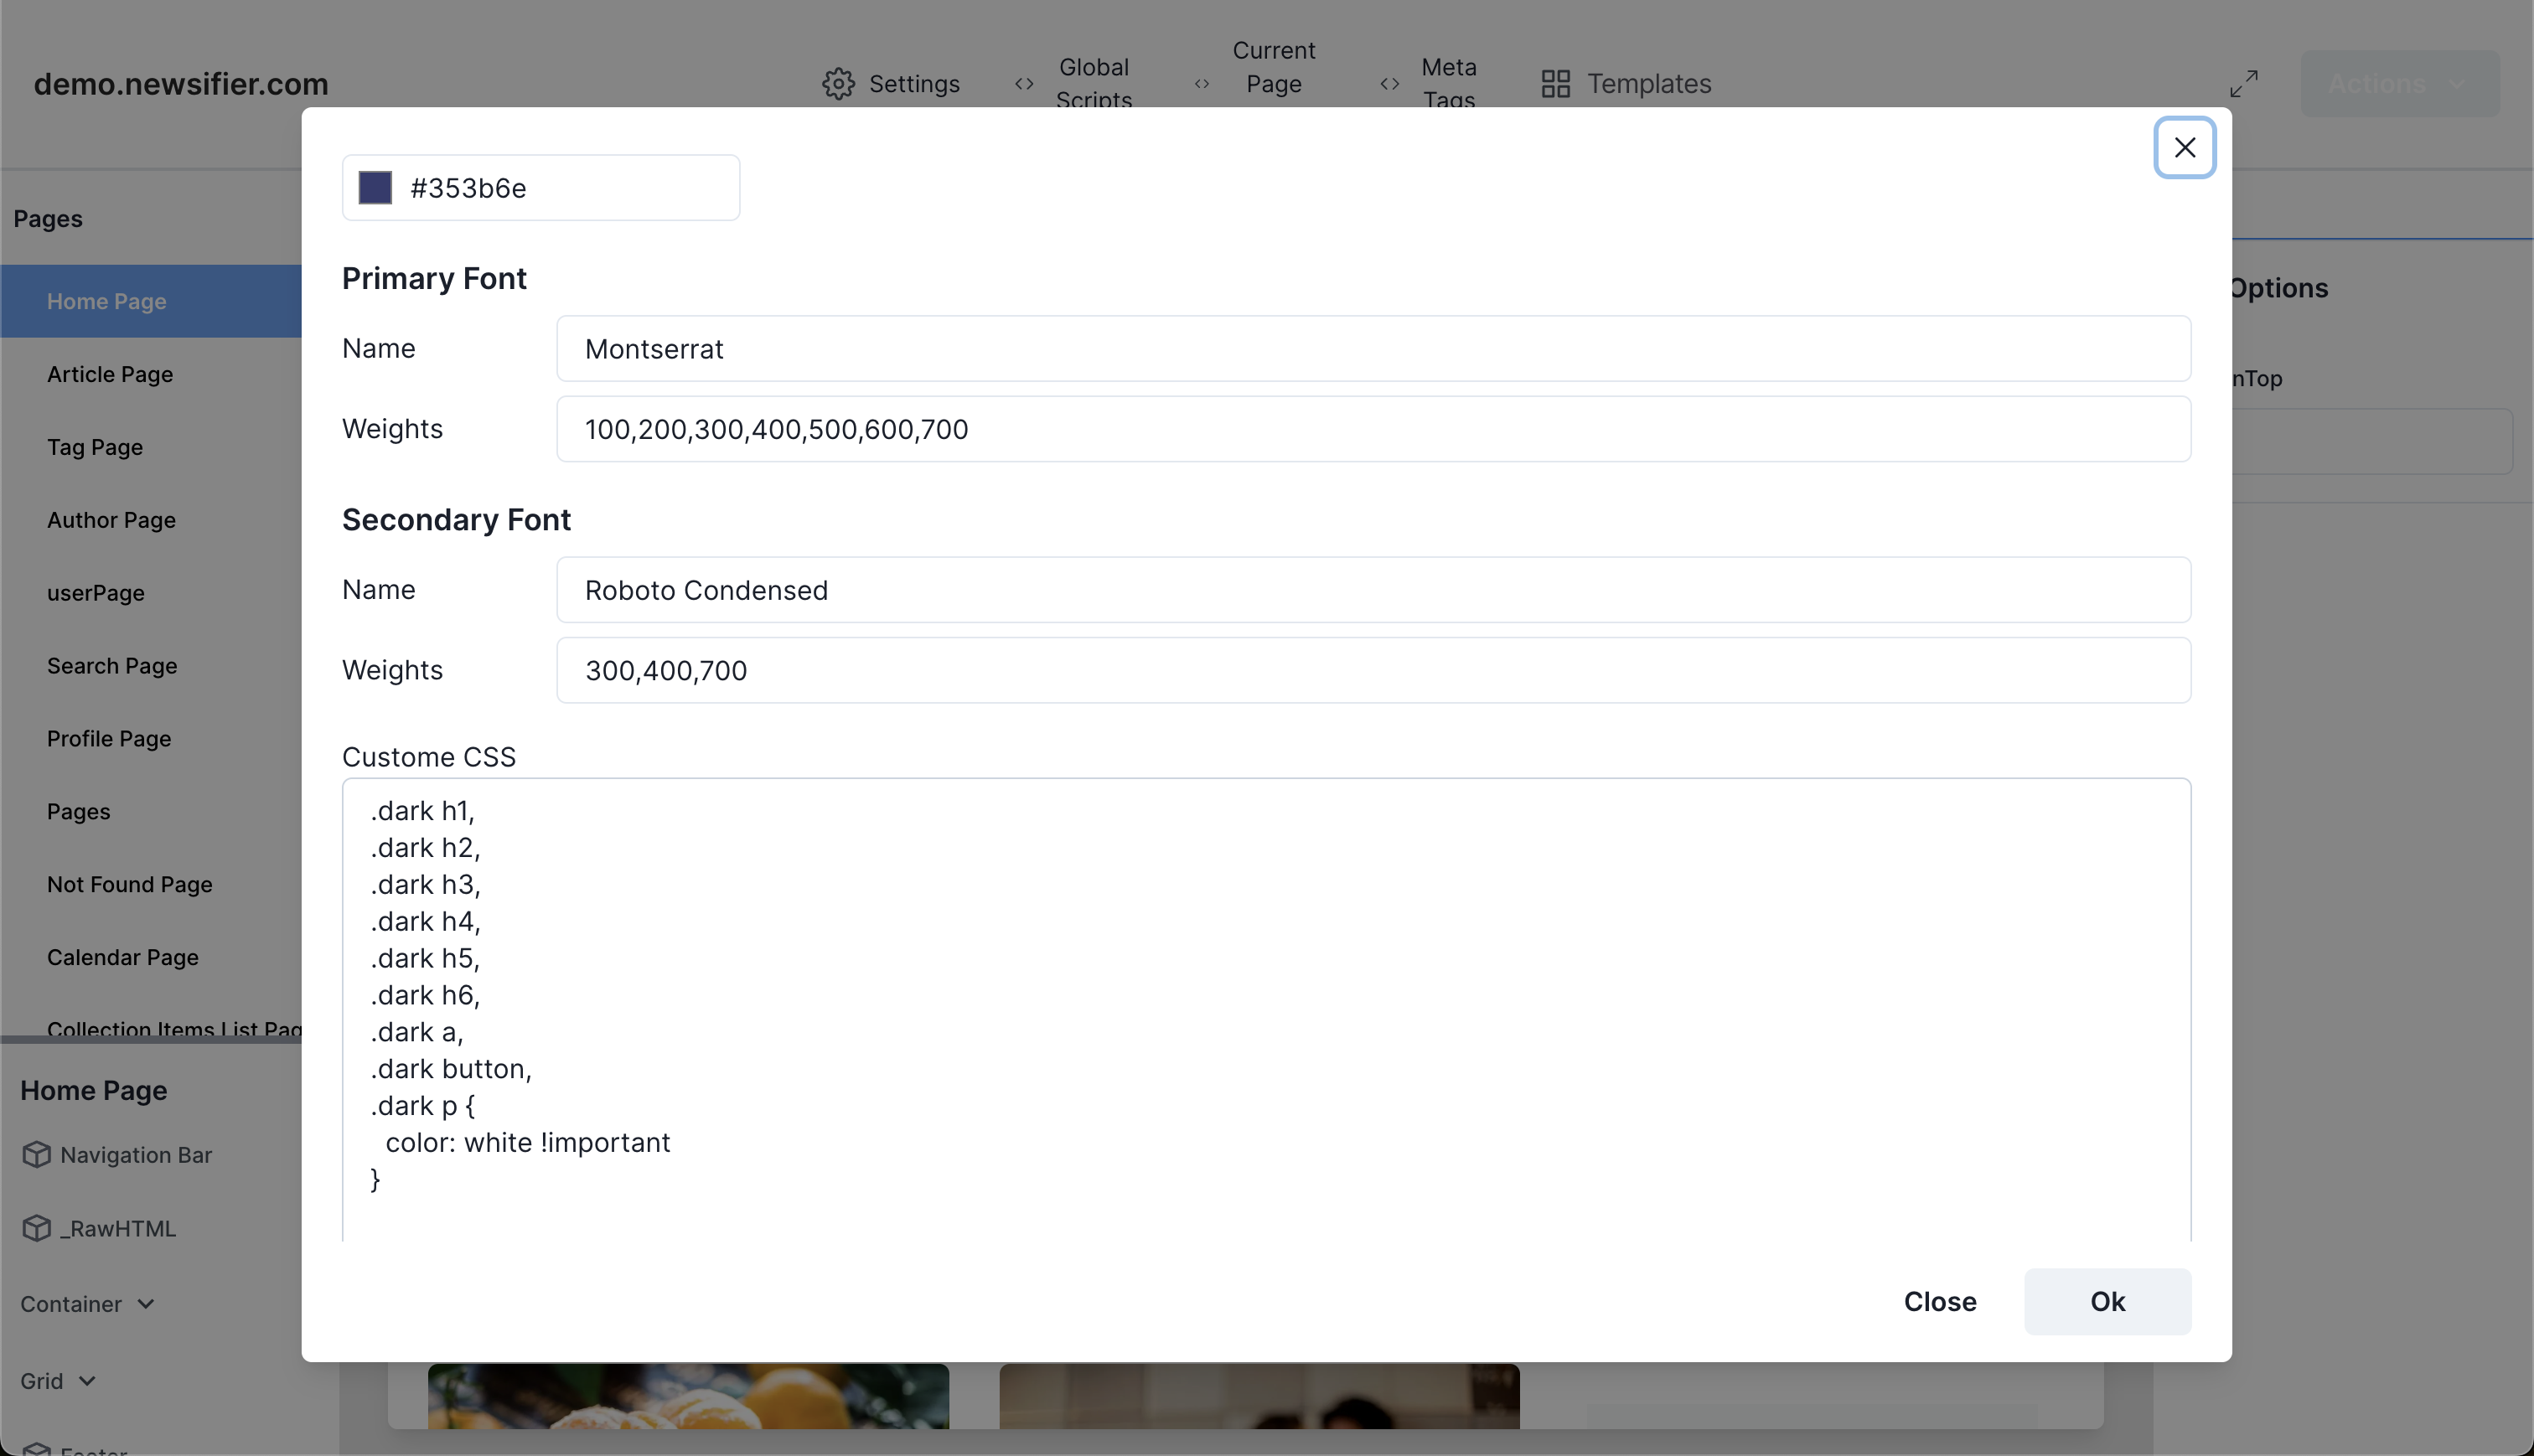
In many cases, some custom CSS is required for web pages. We have added support for custom CSS by clicking in the main navigation in Buildifier on ‘Settings’; there, you will find a textarea Custom CSS.
Note: Adding/Changing Custom CSS requires deployment. Please use the blue button with action and click on deploy tenant.
